Tutorials
◅
▻
Tips
Jel-It-In
Follow the method
To prepare Jel-it-in, dissolve each sachet in 200ml of cold liquid, such as water or low fat milk before blending with your other ingredients. Jel-it-in will not work without heat – each sachet must be dissolved in cold liquid, and then heated to boiling point.
Jel-It-In
Avoiding lumps
Heated Jel-it-in mixture will begin to set as soon as it starts to cool down. To prevent unpleasant clumping and if possible, warm the other ingredients it is to be mixed with, then gradually add the ingredients to the hot Jel-it-in mixture. If lumpy, try blending with a stick blender or food processor.
Jel-It-In
Adjusting recipes
Queen Jel-it-in vegetarian gelling power is a gelatine alternative, but not an exact replacement. Keep in mind you might need to adjust your recipe to use it. Jel-it-in works best in recipes such as jellies, panna cotta and ‘set’ desserts. It is not suitable for making marshmallows or jam and requires additional steps for preparation in cheesecakes.
It is less effective in acidic liquids, like fruit juices such as orange or lemon. For best results use two sachets.
Jel-it-in will set very firm in high fat recipes, try replacing some of the ingredients in your recipes with low fat alternatives.
Fondant
Fondant storage
Fading: Coloured fondant may fade with exposure to sunlight. Store unused fondant in cool, dry conditions away from heat and sunlight, and store decorated cakes, cupcakes and cookies in a dark, cool, dry area immediately after decorating.
Storage: If you have leftover fondant, wrap it in plastic wrap and store in an airtight container in the pantry for up to 4 weeks. Never refrigerate fondant as it will sweat. Instead, store finished cakes, cupcakes and biscuits in cool, dry conditions such as the pantry.
Fondant
Weather & temperature
Very cold weather will make your fondant hard, while humid weather makes it very sticky. Keep this in mind when making a special occasion cake without much time to spare. Try to prepare fondant in air conditioning, cool/warmer conditions or run your hands under cold/hot water and dry thoroughly before preparing.
Fondant
Fondant perparation
Kneading: Knead fondant gently to ensure it is smooth and a little warm. Be careful not to over-knead as it will become very sticky and unmanageable.
Start Small: Knead fondant in batches – this will make it easier on your wrists and potentially less work if you don’t need to use the entire packet.
Icing Sugar: Be careful not to over knead or add too much icing sugar or cornflour to your fondant as this will result in dryness and cracking. You might find your fondant becomes a lighter colour as well.
Work Quickly: Work as quickly as possible when kneading and decorating with fondant. It dries quickly, which can lead to cracking when trying to decorate.
Fondant
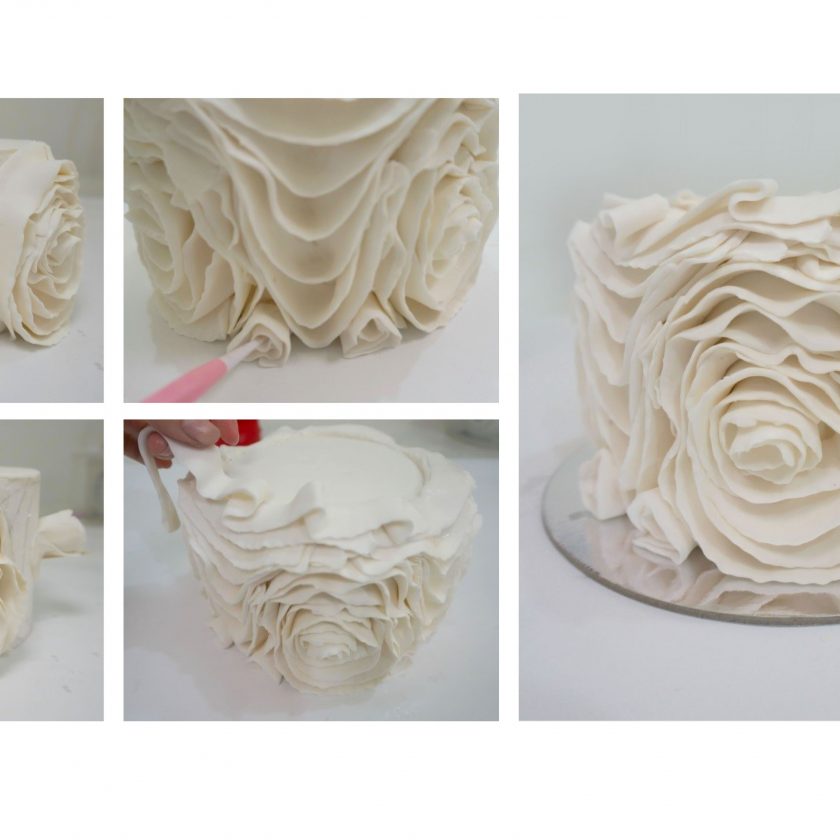
Decorating with fondant
Allow cakes to come to room temperature before applying fondant. Do not decorate cakes that have come straight from the fridge or freezer.
Planning to decorate further after covering with a fondant base layer? Be patient and allow the fondant to firm up a little. This will prevent nail marks, dents and tears occurring.
Fondant
Cake freshness
To help your cakes stay fresh, brush them with sugar syrup or buttercream icing before covering with fondant. This helps seal in moisture and allows a little more time between baking and decorating.
Fondant
Flavouring fondant
Use a toothpick to dot a few drops of your favourite Queen Flavouring Extract onto the fondant and knead gently to combine. If a little sticky, add some icing sugar and knead until smooth.
Fondant
Colouring fondant
Use Queen Food Colour liquids or gels to tint fondant to your desired colour, or mix pre-coloured fondant by gently kneading them together until you achieve the shade you’re after.
To make dark colours, use gel food colours. You will need a lot of colour, which will make the fondant sticky. Start a day ahead and allow it to rest overnight to firm up again. When ready to use, spray fondant with a little vegetable cooking spray instead of icing sugar so that the colour doesn’t fade and the fondant isn’t sticky.
Buttercream
Leftover icing
Leftover prepared buttercream can be stored in an airtight container in the refrigerator for up to 7 days. Simply place on bench and bring back to room temperature 1-2 hours before icing cakes.
Buttercream
Finished cakes
Store cakes and cupcakes iced with Queen Buttercream Icing at room temperature in cool, dry, dark conditions for 1-3 days. Icing will be dry to touch but soft underneath.
Buttercream
Crumb coating
To crumb coat cakes with Queen Buttercream Icing, simply prepare the mixture according to pack instructions then add a tablespoon of Queen Glucose Syrup. This will slightly thin the mixture to ensure it spreads smoothly and doesn’t tear the cake.
Buttercream
Buttercream consistency
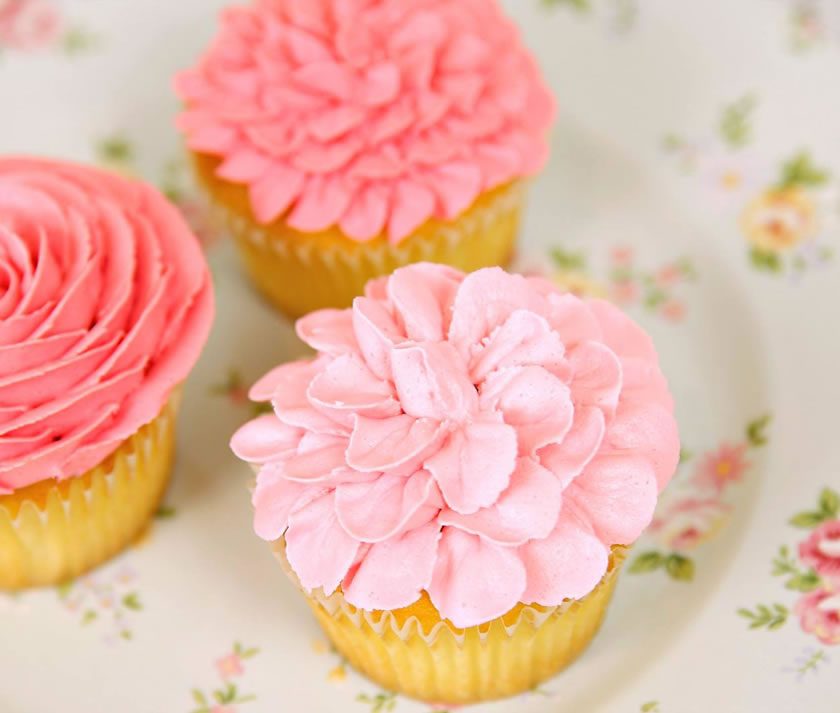
Queen Buttercream Icing can be used for a range of applications by simply adjusting the consistency of it. It's perfect for crumb coating cakes, spreading on cakes, piping on cupcakes and piping buttercream flowers.
THIN: for piped decorations such as fine lines and letters. Simply add 1-2 teaspoons of Queen Glucose Syrup to give your piped decorations a smooth finish and sharp edges.
MEDIUM: for piping flat flowers, textured borders and hearts, your icing must be smooth enough to flow, but firm enough to give texture and detail. Adjust the consistency with icing sugar or milk, adding a teaspoon at a time until the desired thickness is achieved.
FIRM: perfect for creating piped flowers with petals that stand up. If icing isn’t firm enough, your flower petals will gradually droop and crack.
◅
▻
