Our first piece of advice is to adjust your expectations. Gluten free baking will be more complicated and textures will change: but don’t panic, you can make it work. While there may be some epic failures along the way, don’t even think about giving up. Queen tip: get crafty with your less successful recipes by using them for breadcrumbs and crumble toppings.
So let’s get started with the basics. What even is gluten? Firstly, it’s not the same thing as wheat! Gluten is a protein found within wheat, as well as rye, spelt, kamut and triticale. Activated by adding liquid to flour, it’s the component of baking that gives finished recipes their light crumb and fluffy texture. But if you’ve ever over-beaten muffins to have them come out tough and dense, you know it can be both our enemy and friend in baking!
Read on for our top ten tips to mastering the art of gluten free baking…
1. Size matters – start small
Gluten is responsible for the structure of baked goods. Rather than starting off with a whole cake or big muffins, ease yourself into gluten free baking with something smaller to account for the crumbly texture.
2. Bake by weight, not cups
Cooking is an art and baking is science – this mantra comes into play even more so when going gluten free! While you may be well practiced at eyeballing a cup of regular flour, be sure to weigh out your gluten free alternatives for best results. These flours tend to vary dramatically in weight and volume.
3. Be adventurous with your flour blends
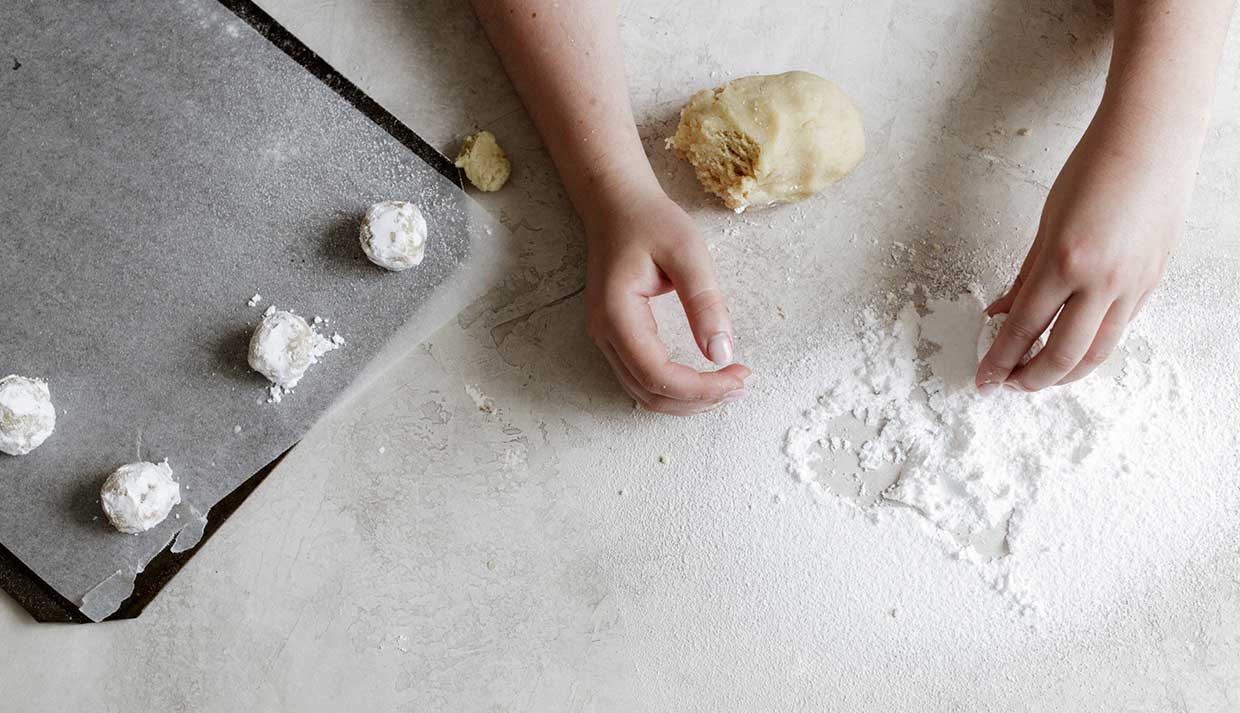
This is where things get exciting! Gone are the days of plain and self-raising – now you have options. We aren’t going to try and reinvent the wheel here, so let us point you to a very handy gluten free flour guide here.
A few things to note – remember that nut flours contain a high amount of fat and may throw out your recipe proportions. Coconut flour is also very absorbent, so be sure to adjust your liquid accordingly.
If you would prefer to ease yourself in gently, a pre-blended gluten free flour from a major supermarket is a great place to start. These blends are rigorously tested, and can generally be used 1:1 in place of normal wheat flour in recipes that already contain a lot of moisture. We recommend giving these a try:
- Triple Vanilla Pound Cake
- Chocolate Sour Cream Bundt
- Persian Drizzle Cake
- Caramel Mudcake
- Maple Butter Date Loaf
- Late Summer Lime Loaf
- Zucchini & Lemon Bundlettes
4. Bake low and slow
Gluten free recipes require more liquid to keep things moist, which means they tend to brown faster on the outside than they cook on the inside. No one likes a soggy middle, so try lowering your oven temperature by 25°C and extending the baking time slightly.
5. Whip it real good
Good news: you can’t over-beat a gluten free recipe! The tough texture that results from over-beating normal recipes comes as a result of overworking the gluten. In this case, we suggest beating for several minutes to add as much air as possible.
Another tip to try is separating your eggs and beating the whites until they form soft peaks. Gently fold them into the batter to make the end result a little fluffier.
6. Add some gum
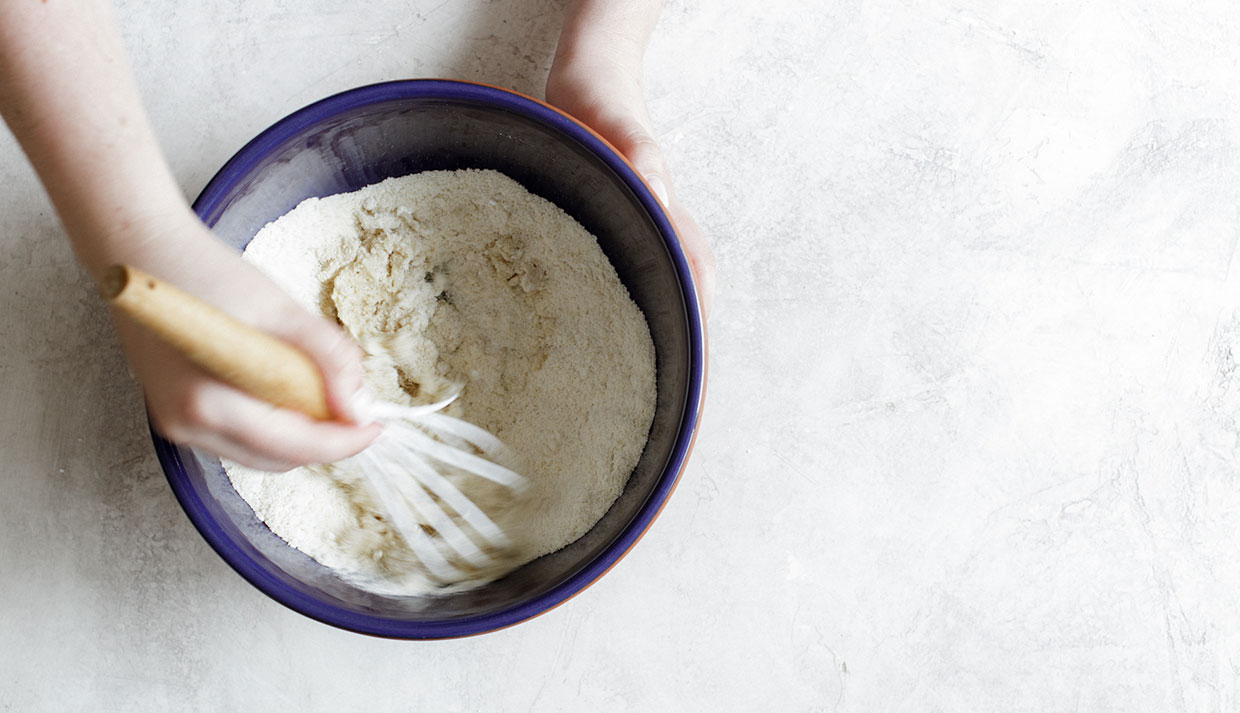
Adding xantham or guar gum can be a great way to replace the structure lost by omitting gluten. The exact amount of gum needed for each recipe is worth experimenting with, but generally we add ½ teaspoon per cup of flour blend.
Some people report digestive issues from gums, so you can also try replacing them with psyllium, agar agar, chia seeds, or flaxseeds. A good guide to use is 1 teaspoon of gum = 2 teaspoons of psyllium = 2 teaspoons of flaxseed.
7. Add more leavening agent
Light and fluffy – the coveted texture that’s so difficult to achieve in gluten free baking! Our top tip is to increase the baking powder or soda in your recipe by 25%. You can also replace milk with buttermilk, or add a splash of apple cider vinegar or lemon juice to further activate the leavening agent.
8. Battle dryness
Gluten free baked goods can be notoriously dry, but you don’t have to fall into that trap! If you feel like your mixture is too dry, simply add an extra egg white. The additional protein will also help to stabilise the batter.
Depending on the recipe you can try adding fresh fruit, apple sauce or canned pumpkin, and we’ve also found that using brown sugar instead of caster sugar helps to retain moisture.
9. Add vanilla (duh!)
While this is a no-brainer for most recipes, we promise it really does make the difference in gluten free baking. A little splash of this magic potion will help tone down the intense nutty flavour that can dominate many gluten free flour blends. Check out our full range of vanilla products here.
10. Give it a rest
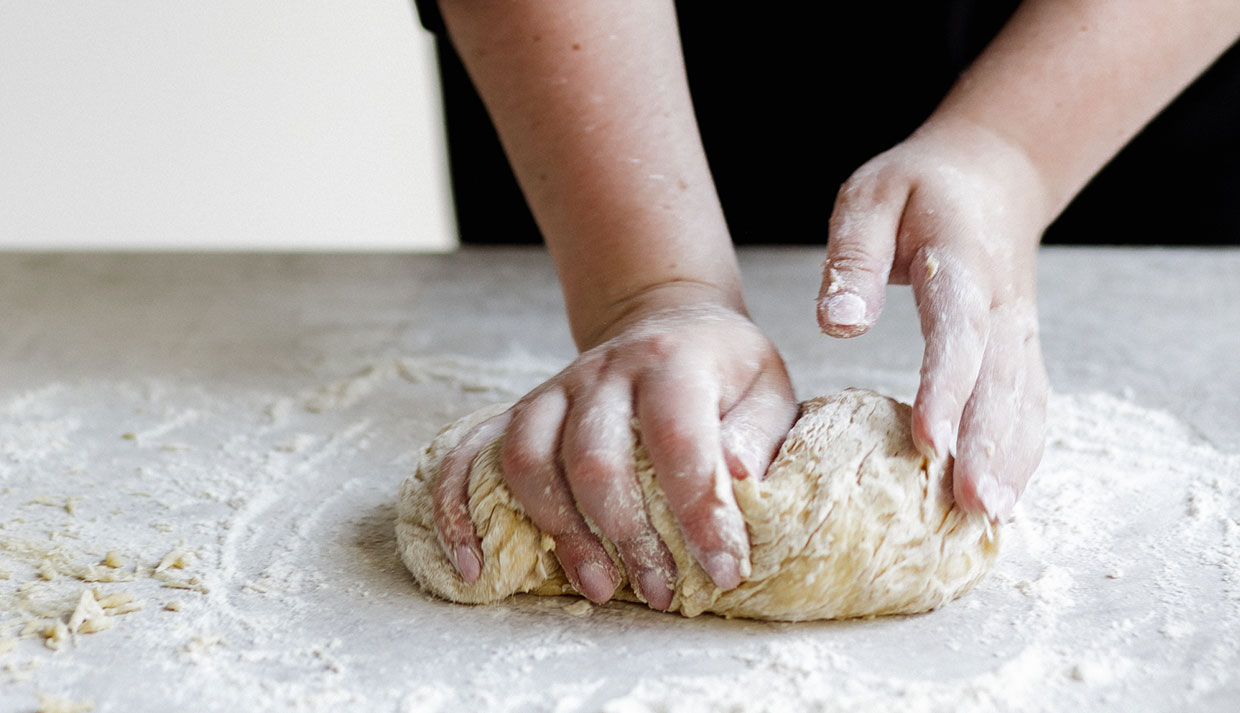
Take your time when baking gluten free – you can’t rush a good thing! Starches can be slow to absorb liquid, so allow your mixture a little time to rest before putting it in the oven.
This rule also applies after baking. Before you even think about touching it, make sure you allow your recipe to cool completely to reduce the risk of it falling apart. But don’t rest before you eat it! Gluten free recipes tend to have a much shorter shelf life.
Ready to flex your new gluten free baking skills? Head over to our gluten free recipe collection for plenty of delicious inspiration!
For monthly recipes delivered straight to your inbox, along with product information, competitions and special offers, be sure to join our Queen Baking Club.


Comments & Reviews